
A restaurant runs on a lot of moving parts at once: orders at the tables, stock in the store room, suppliers to pay, staff on shift, and cash at the counter. When each of those lives in a different notebook or app, things slip. Ingredients run out mid-service, the bill doesn't match what the kitchen sent out, and nobody knows the day's real margin.
Odoo brings all of it into one system. Its Point of Sale app has a full restaurant mode, and when you add Inventory, Purchase and Invoicing, every order at the table updates your stock, your purchasing and your accounts automatically.
Here's how to set it up, step by step.
Step 1: Choose your apps
Start with Point of Sale and set it up as a restaurant. That gives you the floor plan, table service, kitchen orders and bill splitting.
Then add the apps that connect the rest of the business:
- Inventory, to track ingredients and drinks in your store room
- Purchase, to manage suppliers and orders
- Invoicing, to keep your accounts in step with your sales
Because they share one database, a sale at table 4 updates your stock and your books at the same moment. Nothing has to be copied from one place to another.
Step 2: Set up your suppliers
How you start depends on where you're coming from.
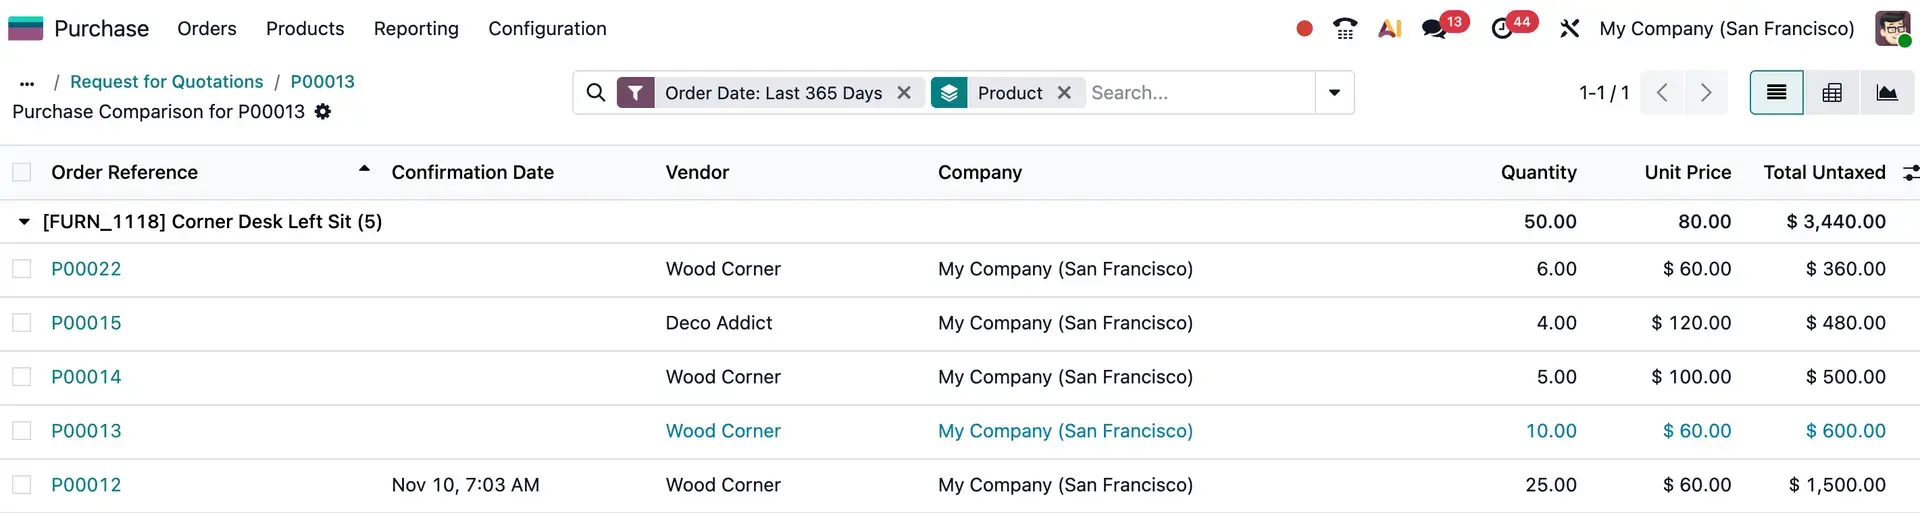
Starting fresh? Add your suppliers' details as you take each one on. If you're choosing between suppliers, the Purchase app lets you request quotes from several and compare their terms side by side. For suppliers you buy from regularly at an agreed price, you can switch on Purchase Agreements in the settings to create blanket orders.
Moving from another system or from spreadsheets? You don't have to retype anything. Contacts, suppliers, customers and products can all be imported in bulk from a spreadsheet.
Step 3: Add your products and let Odoo do the reordering
Next, add the products each supplier sells you: meat, vegetables, drinks, packaging and so on. Link each product to its supplier with the price, including any discounts for quantity, dates or special offers.
Then set minimum and maximum stock levels. When a product falls below its minimum, Odoo prepares a purchase order for you automatically. If one supplier provides several products that are running low, they're grouped into a single order. You review it, confirm it and send it. No more discovering at 7pm on a Friday that you're out of chicken.
Step 4: Build your menu
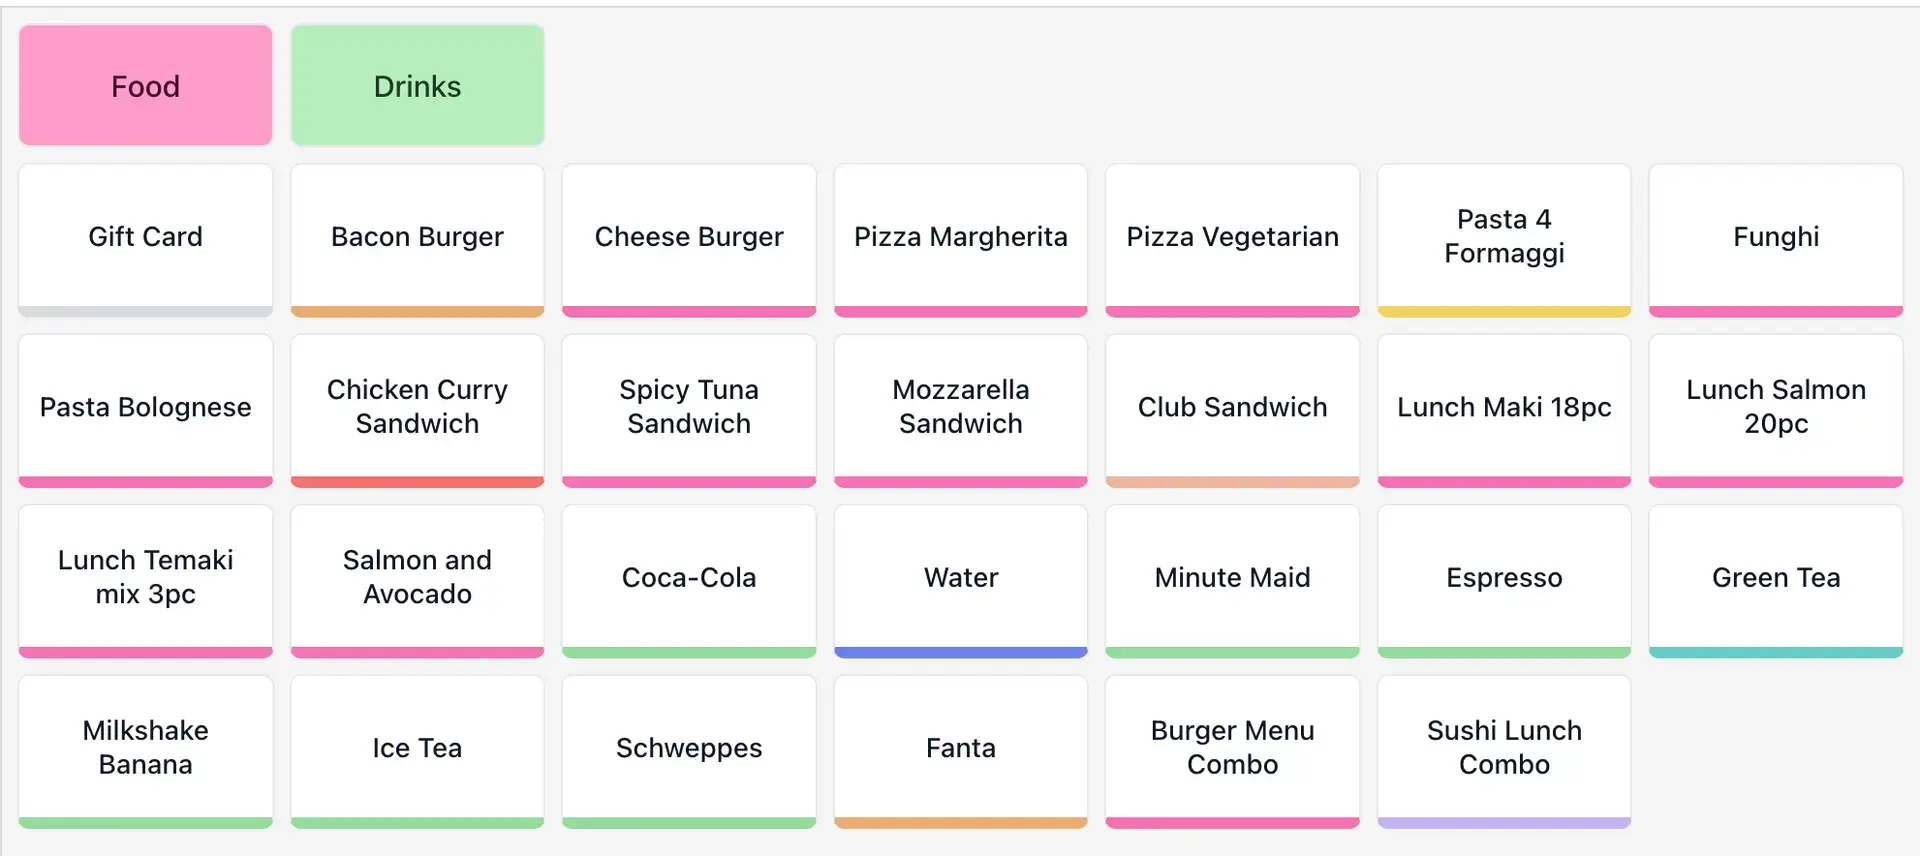
Now create your menu: dishes, drinks, combos and set meals. For each dish, list the ingredients and quantities that go into it, its recipe or "bill of materials". That way, every time a dish is sold, Odoo knows exactly what to deduct from your store room.
This is what turns your till into a stock system. At the end of the day, what the stock report says should match what's actually on the shelf. If it doesn't, you'll know something is being wasted, over-portioned or going missing.
Step 5: Design your floor plan
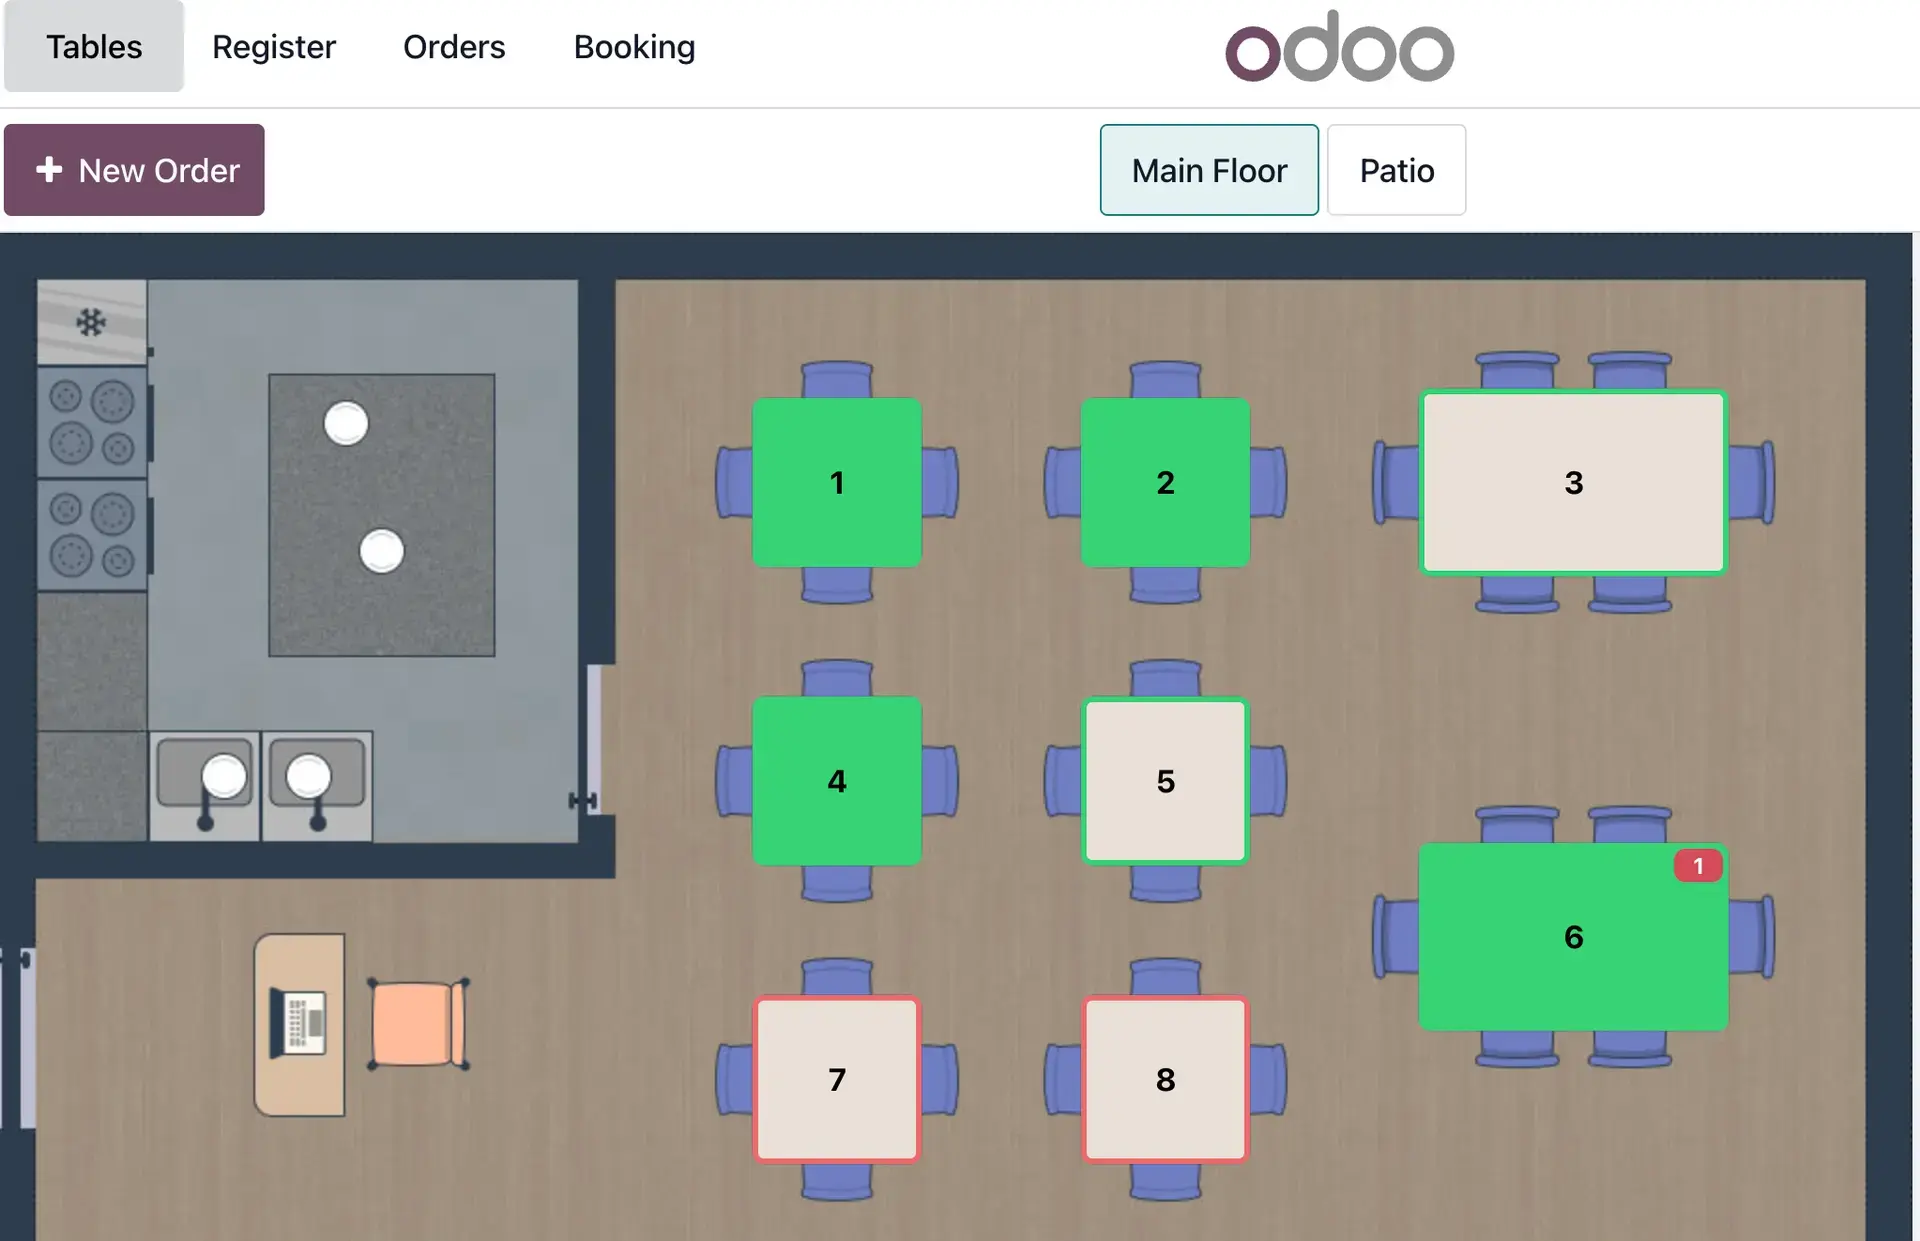
Open the Point of Sale app and start a session. This is the same as opening the cash register for a shift: you enter the opening cash amount, and the floor plan appears.
From the menu, choose Edit floor plan. You have two options:
- Upload a photo or drawing of your premises and place the tables where they really are.
- Build the layout from scratch on a blank plan.
Add tables, bar seats and as many areas as you need, such as a main room, an upstairs floor or a terrace, and number the tables to match your real ones.
Step 6: Run service
Once the floor plan is ready, service is straightforward. Waiters tap a table, take the order, and send it straight to the kitchen or bar. During service you can also:
- Move a table: when guests change tables, the whole order moves with them.
- Join tables for larger groups.
- Split the bill however the group wants to pay.
- Send courses to the kitchen at the right time, so mains don't arrive with starters.
Your waiters don't need their own Odoo user licences. Register them as employees and turn on employee login in the Point of Sale settings. Each waiter then signs in with a PIN or badge, and every order is still recorded against the right person.
What's new for restaurants in Odoo 20
Odoo 20, released in September 2026, adds several restaurant features worth knowing about:
- A redesigned floor plan editor
- Table reservations that can carry notes such as allergies
- Combo deals and courses sent to the kitchen table by table
- Self-ordering, so customers can order from their table by scanning a QR code or at a kiosk
If you're setting up a new restaurant on Odoo now, it's worth asking whether to start on Odoo 20 directly.
Making it work in Tanzania
A few practical points for restaurants and bars here:
- TRA fiscal receipts. Your Odoo sales can issue TRA receipts directly through VFD integration, so staff don't have to re-enter every sale into a separate EFD system.
- Mobile money. Customers pay with M-Pesa, Mixx by Yas (formerly Tigo Pesa) and Airtel Money as often as with cash or card. Set these up as payment methods so each day's takings reconcile by payment type.
- Internet drops. Odoo's Point of Sale can keep taking orders through a short internet outage and sync them once the connection returns. A reliable connection still matters, but a brief drop doesn't have to stop service.
Ready to set up your restaurant?
Chesify Labs sets up Odoo for bars, restaurants and cafés in Tanzania: floor plan, menu and recipes, suppliers and stock, staff logins, payments and TRA integration. Try the free demo, or message us on WhatsApp to talk through your setup.